
It occurred to me that I shared the before & after from our kitchen in our summer house, but I left you hanging on the rest of the place. Trust me, there's not a single square inch of that house that we didn't re-do!
~
How about the guest room next? And don't worry, just like the kitchen, this room too started out ugly, got worse, and then finally got better...much better!
 here's how the old owners had it...complete with nasty carpet, nasty walls and a nasty pipe that ran through the room from the floor to the ceiling
 the room required a lot of dry wall repair. the "box" built against the one wall was the only solution for covering up the exposed pipe
 with the carpet pulled up, you can see the pieced-together sub floor. It was like a big, uneven puzzle
 walls getting better!
 ahh! primer, paint (Behr Cottage White), new sub floor and baseboards...much better!
 and the fresh carpet really made the room
~
Next it was time to fill the room, and this was my favorite part! I did a little shopping in our basement storage room and came up with just about everything I needed, starting with this headboard that I reupholstered in a linen fabric with large metallic flowers on it
 using 1 yard of the fabric for the headboard, I had just a small strip leftover. I cut the strip into three pieces, turned each one and stitched them back together which gave me a large enough piece to make a coordinating pillow!
 an old TV tray with a serving tray on top and some spare decorations made up the night stand
 there's a small nook on your left as you walk into the room. We found this dresser from IKEA which fits it perfectly. Topped off with some family beach pictures, love!
 and the finished project!!
~
Here's my decor breakdown:
- Fabric for headboard ($20)
- White quilt from TJMaxx ($30)
- Dresser from IKEA ($129)
- Bed, headboard, chair, art, nightstand & accessories ($0)
~
With the slanted ceilings and subtle decor, this room is so cozy!
How about the guest room next? And don't worry, just like the kitchen, this room too started out ugly, got worse, and then finally got better...much better!

 here's how the old owners had it...complete with nasty carpet, nasty walls and a nasty pipe that ran through the room from the floor to the ceiling
 the room required a lot of dry wall repair. the "box" built against the one wall was the only solution for covering up the exposed pipe
 with the carpet pulled up, you can see the pieced-together sub floor. It was like a big, uneven puzzle
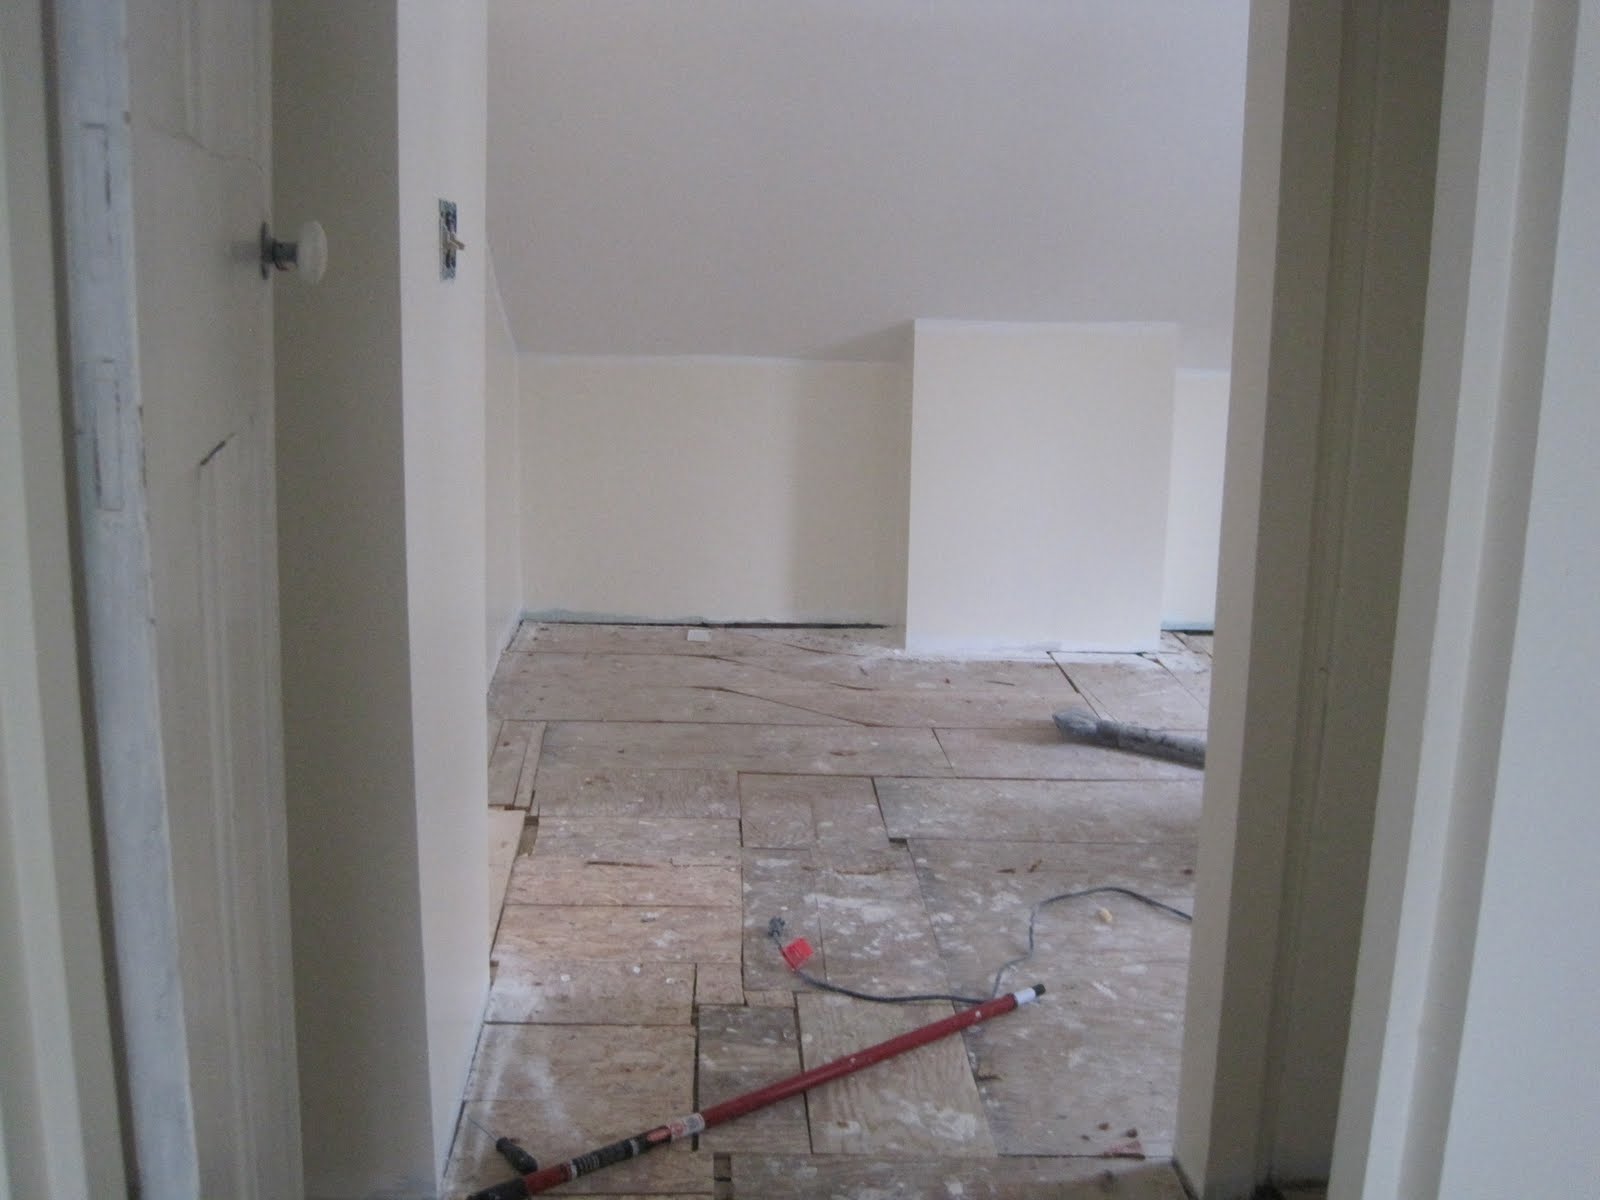 walls getting better!
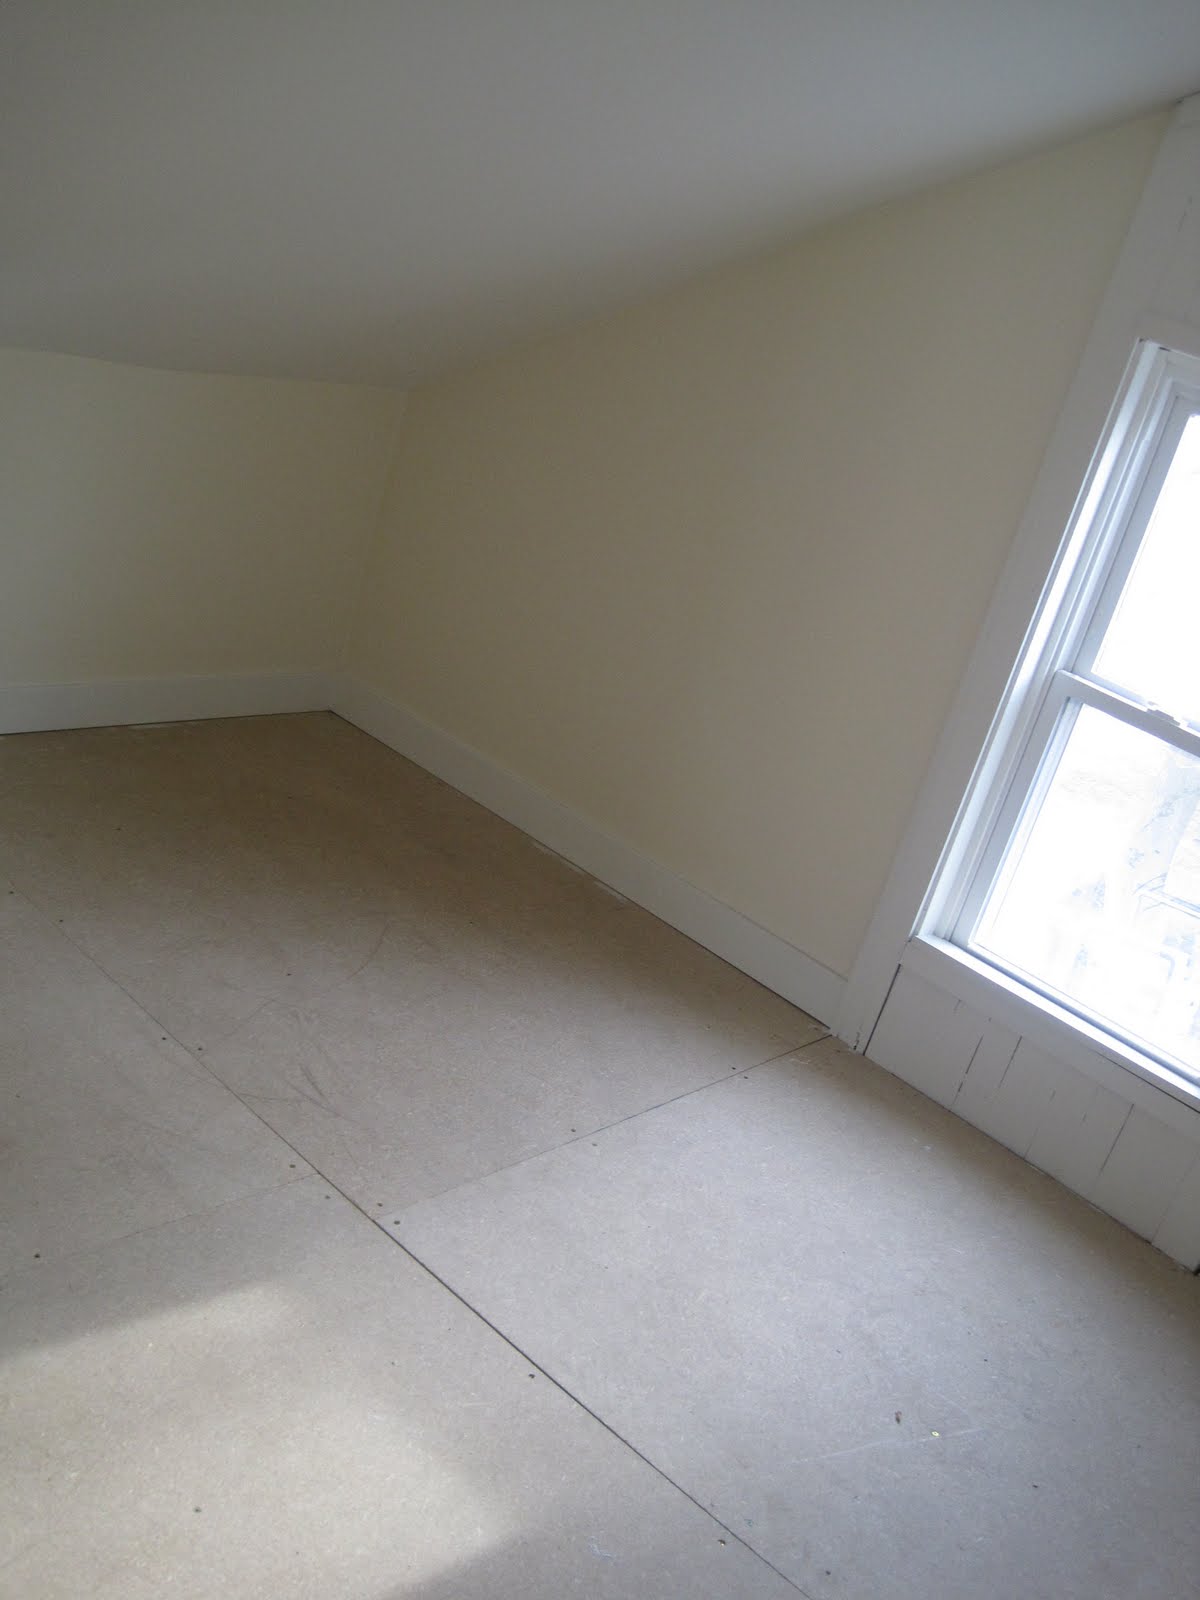 ahh! primer, paint (Behr Cottage White), new sub floor and baseboards...much better!
 and the fresh carpet really made the room
~
Next it was time to fill the room, and this was my favorite part! I did a little shopping in our basement storage room and came up with just about everything I needed, starting with this headboard that I reupholstered in a linen fabric with large metallic flowers on it

 using 1 yard of the fabric for the headboard, I had just a small strip leftover. I cut the strip into three pieces, turned each one and stitched them back together which gave me a large enough piece to make a coordinating pillow!
 an old TV tray with a serving tray on top and some spare decorations made up the night stand
 there's a small nook on your left as you walk into the room. We found this dresser from IKEA which fits it perfectly. Topped off with some family beach pictures, love!
 and the finished project!!
~
Here's my decor breakdown:
- Fabric for headboard ($20)
- White quilt from TJMaxx ($30)
- Dresser from IKEA ($129)
- Bed, headboard, chair, art, nightstand & accessories ($0)
~
With the slanted ceilings and subtle decor, this room is so cozy!